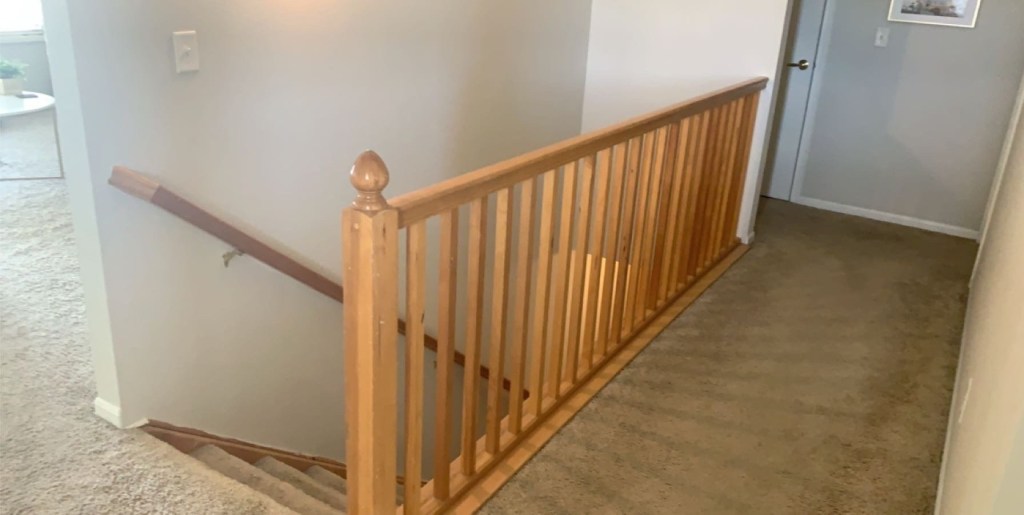
I am not sure about you but growing up in the 90’s I am certain of a few things. I also am the first to admit my personal distaste for Honey Oak woodwork/cabinets. When my husband and I decided to stay in his bachelor home after we married I told him that I needed to make a few upgrades around the house to have it feel more like a home. One of the first things was to paint the trim and cabinets that all were the same dull shade of 90’s Honey Oak(Post coming soon about this project)! 2 years later I decided to tackle the daunting stair banister. In the post I’m going to review my process and products I used through this project. I did a lot of research and spoke to many Lowe’s personals and I love the result we got! I will warn you now that this project is not for the faint of heart! There was a big mess and lots of small steps that take time to dry but if you can get past the overwhelming initial thoughts you will love the results! I will also say this method is just one of many combos you can try, I am sure others have had success with different ways. Pinterest can be your best friend or your enemy when you are looking for answer as it sometimes can be a never ending dark hole with 1000’s of way to try something.
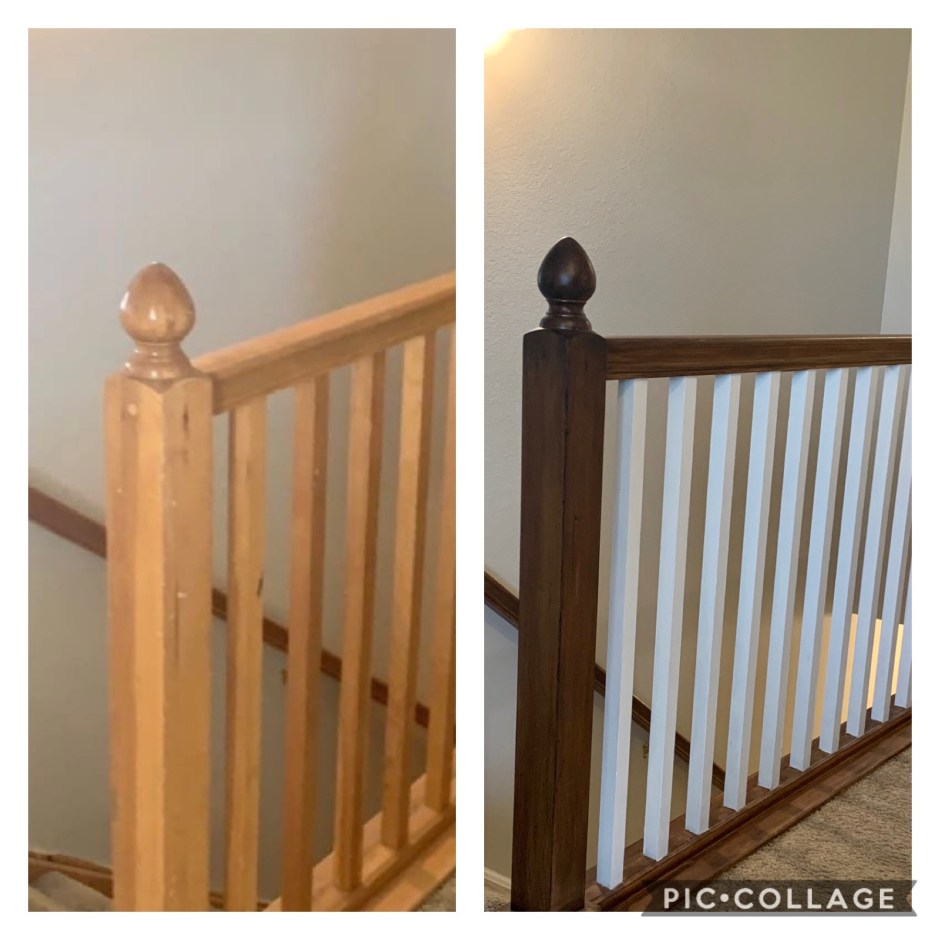
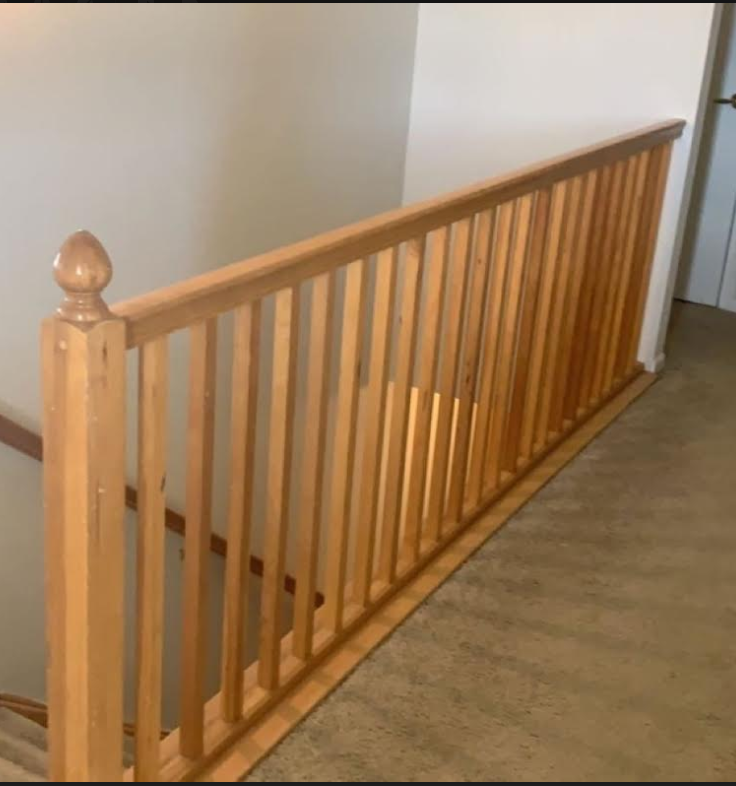
As many of us where #stayinghome during the corona outbreak in 2020 and my project oriented brain started dreaming of finishing my dream of removing all the honey oak in our home. I started my search and quickly realized there were so many different ways and tricks and the best ideas include a plan but also the flexibility to call an audible when needed. We initiated the plan by having photos of the overall look we wanted. As a fur mother I did not want a white base as my black fur babies hair would show all over it. And my husband is also not known for his cleanliness we decided the handrail was to be stained to not show as much dirt! With the last of the honey oak showing and everything else painted an off white, I wanted to add some texture back in and not just paint everything white. We read online to not try and tackle this project quickly or with a lot going on, so we mapped out a two week plan to give ourselves little breaks (just to make sure we didn’t kill each other :)) With the design settled on the prepping began!
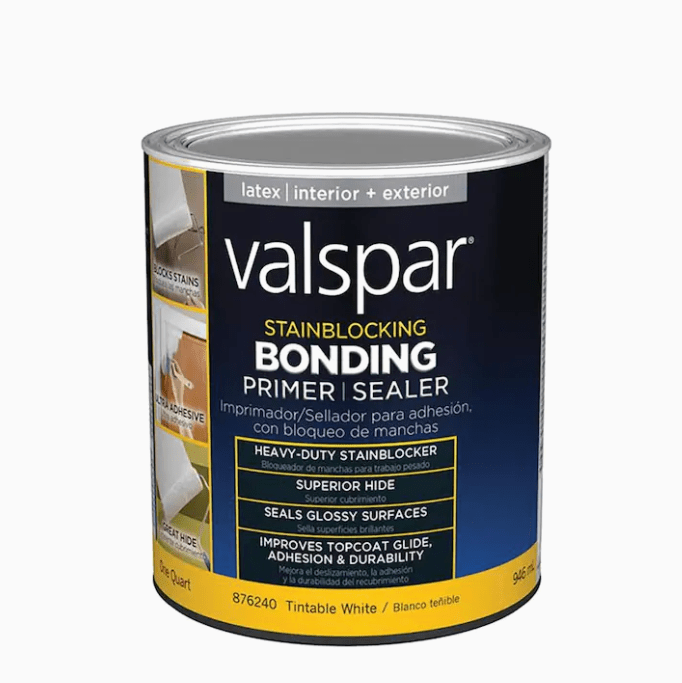
First was to buy all supplies! I am very fortunate to live within walking distance to Lowes and have a prime membership as 98% of the supplies where from these two places. I had already decided to match the white to the new painted baseboards and wanted me stain to match my mirror Redo so thankfully the colors were all picked out. I should warn you I am a huge fan of Valspar painting products! They are worth the extra money!
Supplies
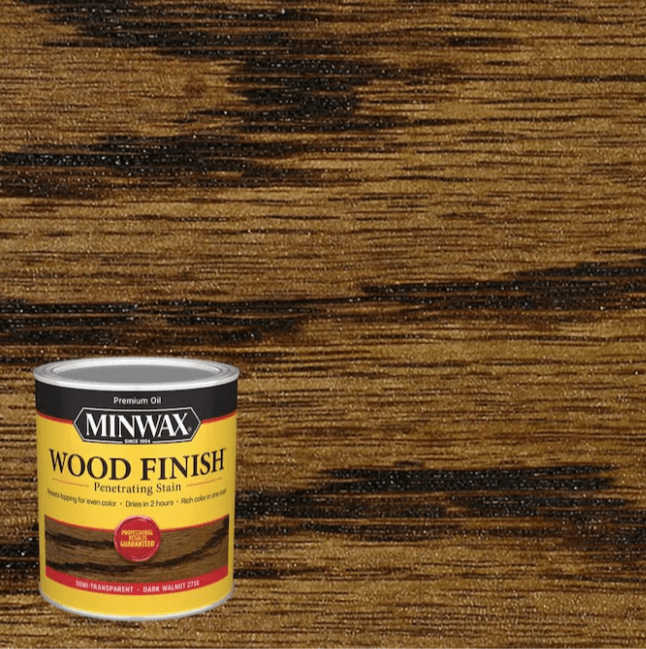
Pictures posted below of the products we used
- Sand Paper (Get a few different grits)
- Tack Cloth (Do not skip this step!!)
- Primer
- Paint color of choice (We chose snowbound to match the rest of our trim)
- Stain color of choice ( We chose Walnut)
- Painters Tape
- 1 1.5″ Paint Brush
- 1 3″ Foam paint roller
- Assortment of foam brush to apply statin
- Rags or staining sponges
- Spray Varnish Sealer (we chose a Semi-gloss finish)


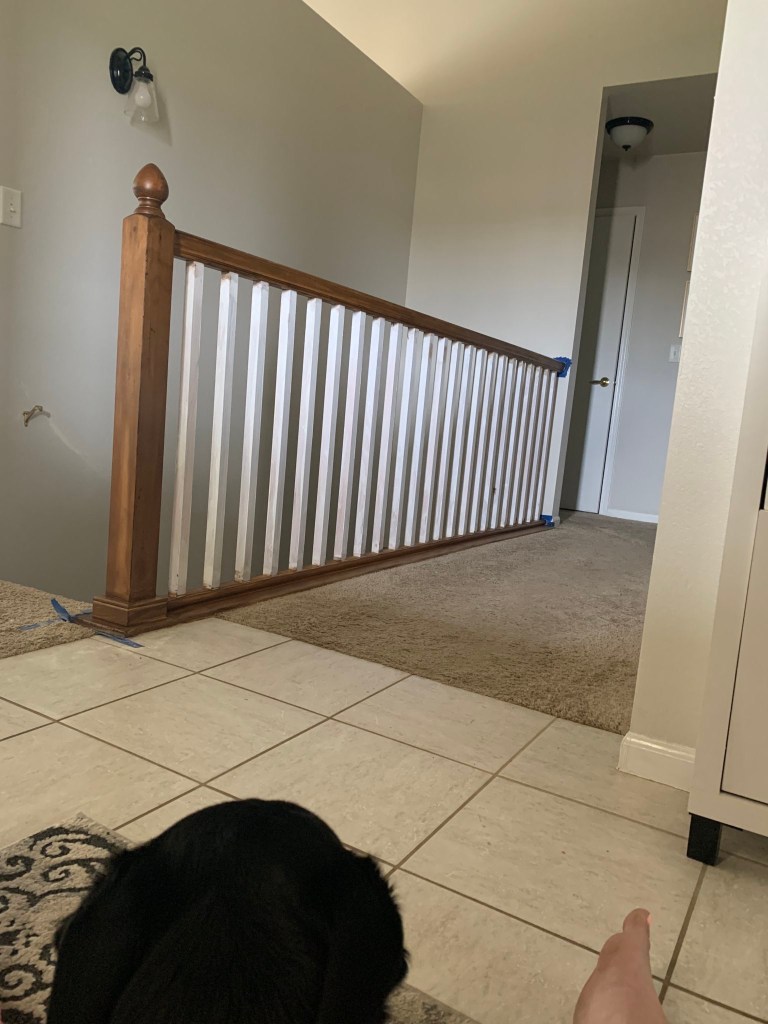
Let the sanding begin! Week one was all about prepping the space! Day 1 we starting my cleaning the space and vacuuming around the corners to get the area as tidy as possible. As the first round of sanding began with 60 grit we sanded everything! Some people do recommended a sanding block however I noticed it would allow me to get into the small areas very well so I decided to scratch it pretty early on. As the first round of sanding was coming to a close we wiped everything down with tack cloth (make sure to store in an airtight bag to not have it dry out) to start with a clean space for the next round of sanding. We repeated this step with Grits 120, 220 sandpaper. Next we get everything wipe down and vacuumed before we taped everything off. We used tack cloth one more time to verify we had removed all the dust that would cause any bumps in the final design. By the end of the prep I honestly was starting to lose a little hope but it was too late to turn back :).
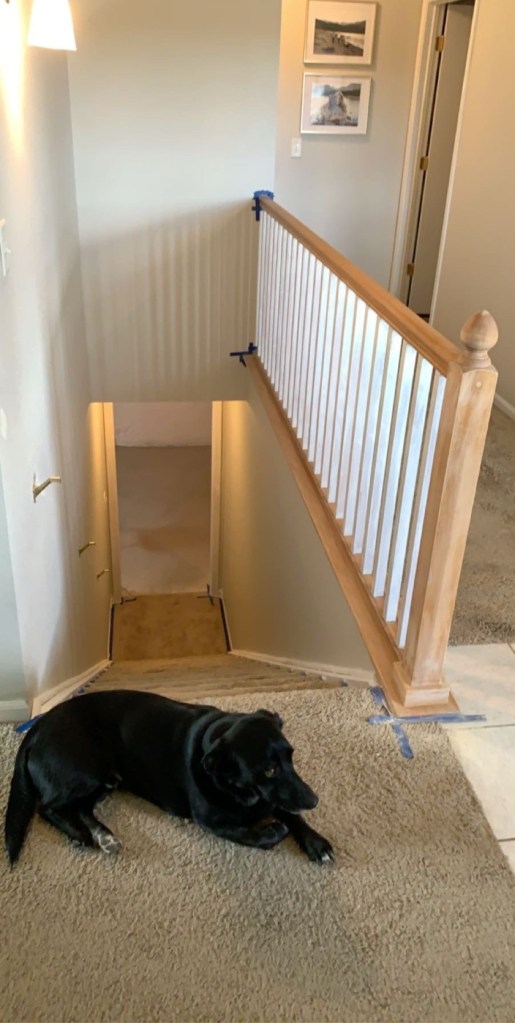
Now the following steps can be completed either way! We decided to paint the spindles first and then stain the base and handrail. We taped everything off accordingly. We did one coat of primer using a normal 1″ paint brush and found that to be sufficient (this will depend on your sanding job, so take your time). Make sure to let each step dry between 24-48 hours before painting the next coat. The painting step takes time! It is usually helpful to have a buddy and a glass of wine :). We popped the paint(Color Snowbound, type pictured in supplies) and started with the same paint brush and realized that the roller really helped remove any brush makes. Depending on your width of your spindles and or if you have design in them will determine if you can use the roller. If not gently used the foam roller to get any additional brush makes out. We decided we wanted to do two sides at a time and learned very quickly it was leaving drips in places that were not good. 4 spindles down we were ready for another glass of wine. We finally got the groove and did the complete spindle trim (along taped areas) and the other a few behind would roll the rest. We would go back and forth and made a fun game that if someone found a hidden drip you got a 1 min break. The best advice I have it TAKE YOU TIME!!! How the first coat of paint looks is crucial for your final project! After 48 hours repeat with coat two of paint let sit for 1 hour and remove painters tape.
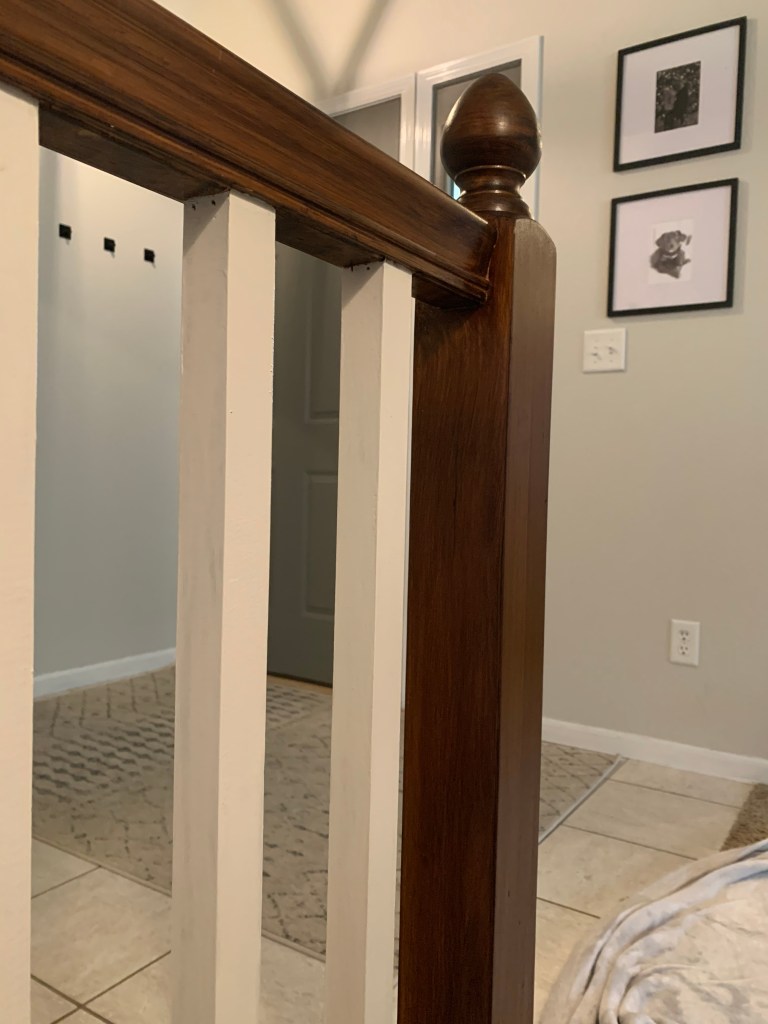
If you have not lost hope yet kudos to you! You totally got this! After waiting another 48 hours you can tape off the painted spindles to start the staining step! Press firmly at the joints but don’t press super tight at the end of the tape to help it not stick. I found that doing the under portion of the railing first was good and then moved to the base. I followed the staining instructions and did light coats to help it dry and easier clean up when needed. After I got all the smaller areas done I used the foam brush to apply it to the top of the hand rail and used the stain sponge to rub it in along the whole banister. I was instantly IN LOVE!!! The whole area just came to live and I was so excited to get this project done! We completed the staining step 3 times to get the desired color but this will differ based on your preferences! NOW IS THE WAITING!! DON’T TOUCH!!!
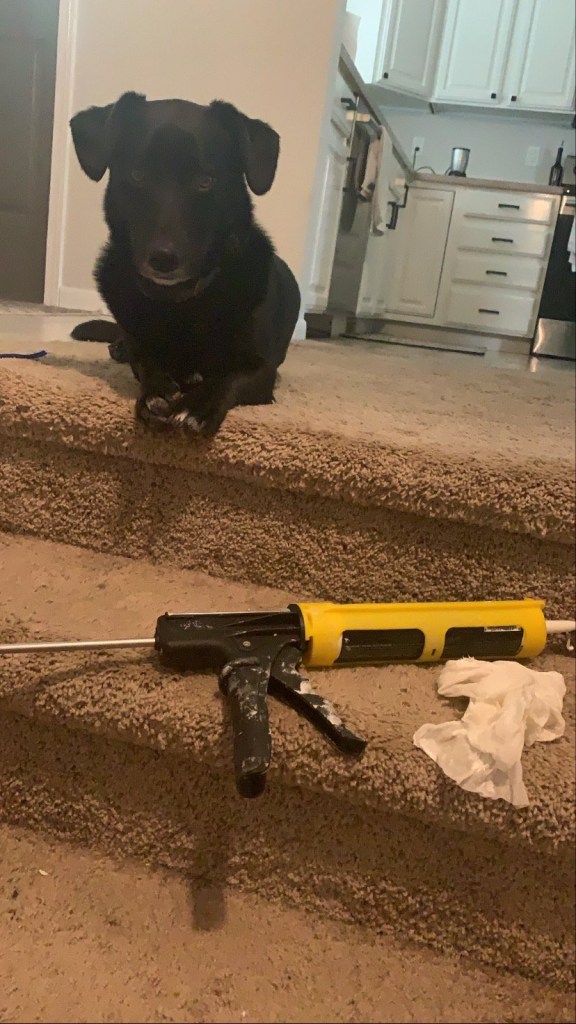
Final Day: The final step is so rewarding! After you examine your project make sure to look for any drips that you need to sand down and touch up, or just touch up spots, now is the time to do it! I looked into the process of poly and read that the spray though it is more expensive works amazing! I am so glad I spent the extra few bucks because it was easy to handle and easy to get in between the spindles without a huge mess! I completed 2 layers of the spray about 24 hours apart. Removing the tape along the carpet was by for one of the most rewarding processes ever! I did touch up calk where needed to make sure everything looked seamless!Please note that touch ups are crucial! Walk around and see if there is anything that needs touch up paint or a little extra stain. You will be staring at this for many years to come so make sure to give the review step extra attention!
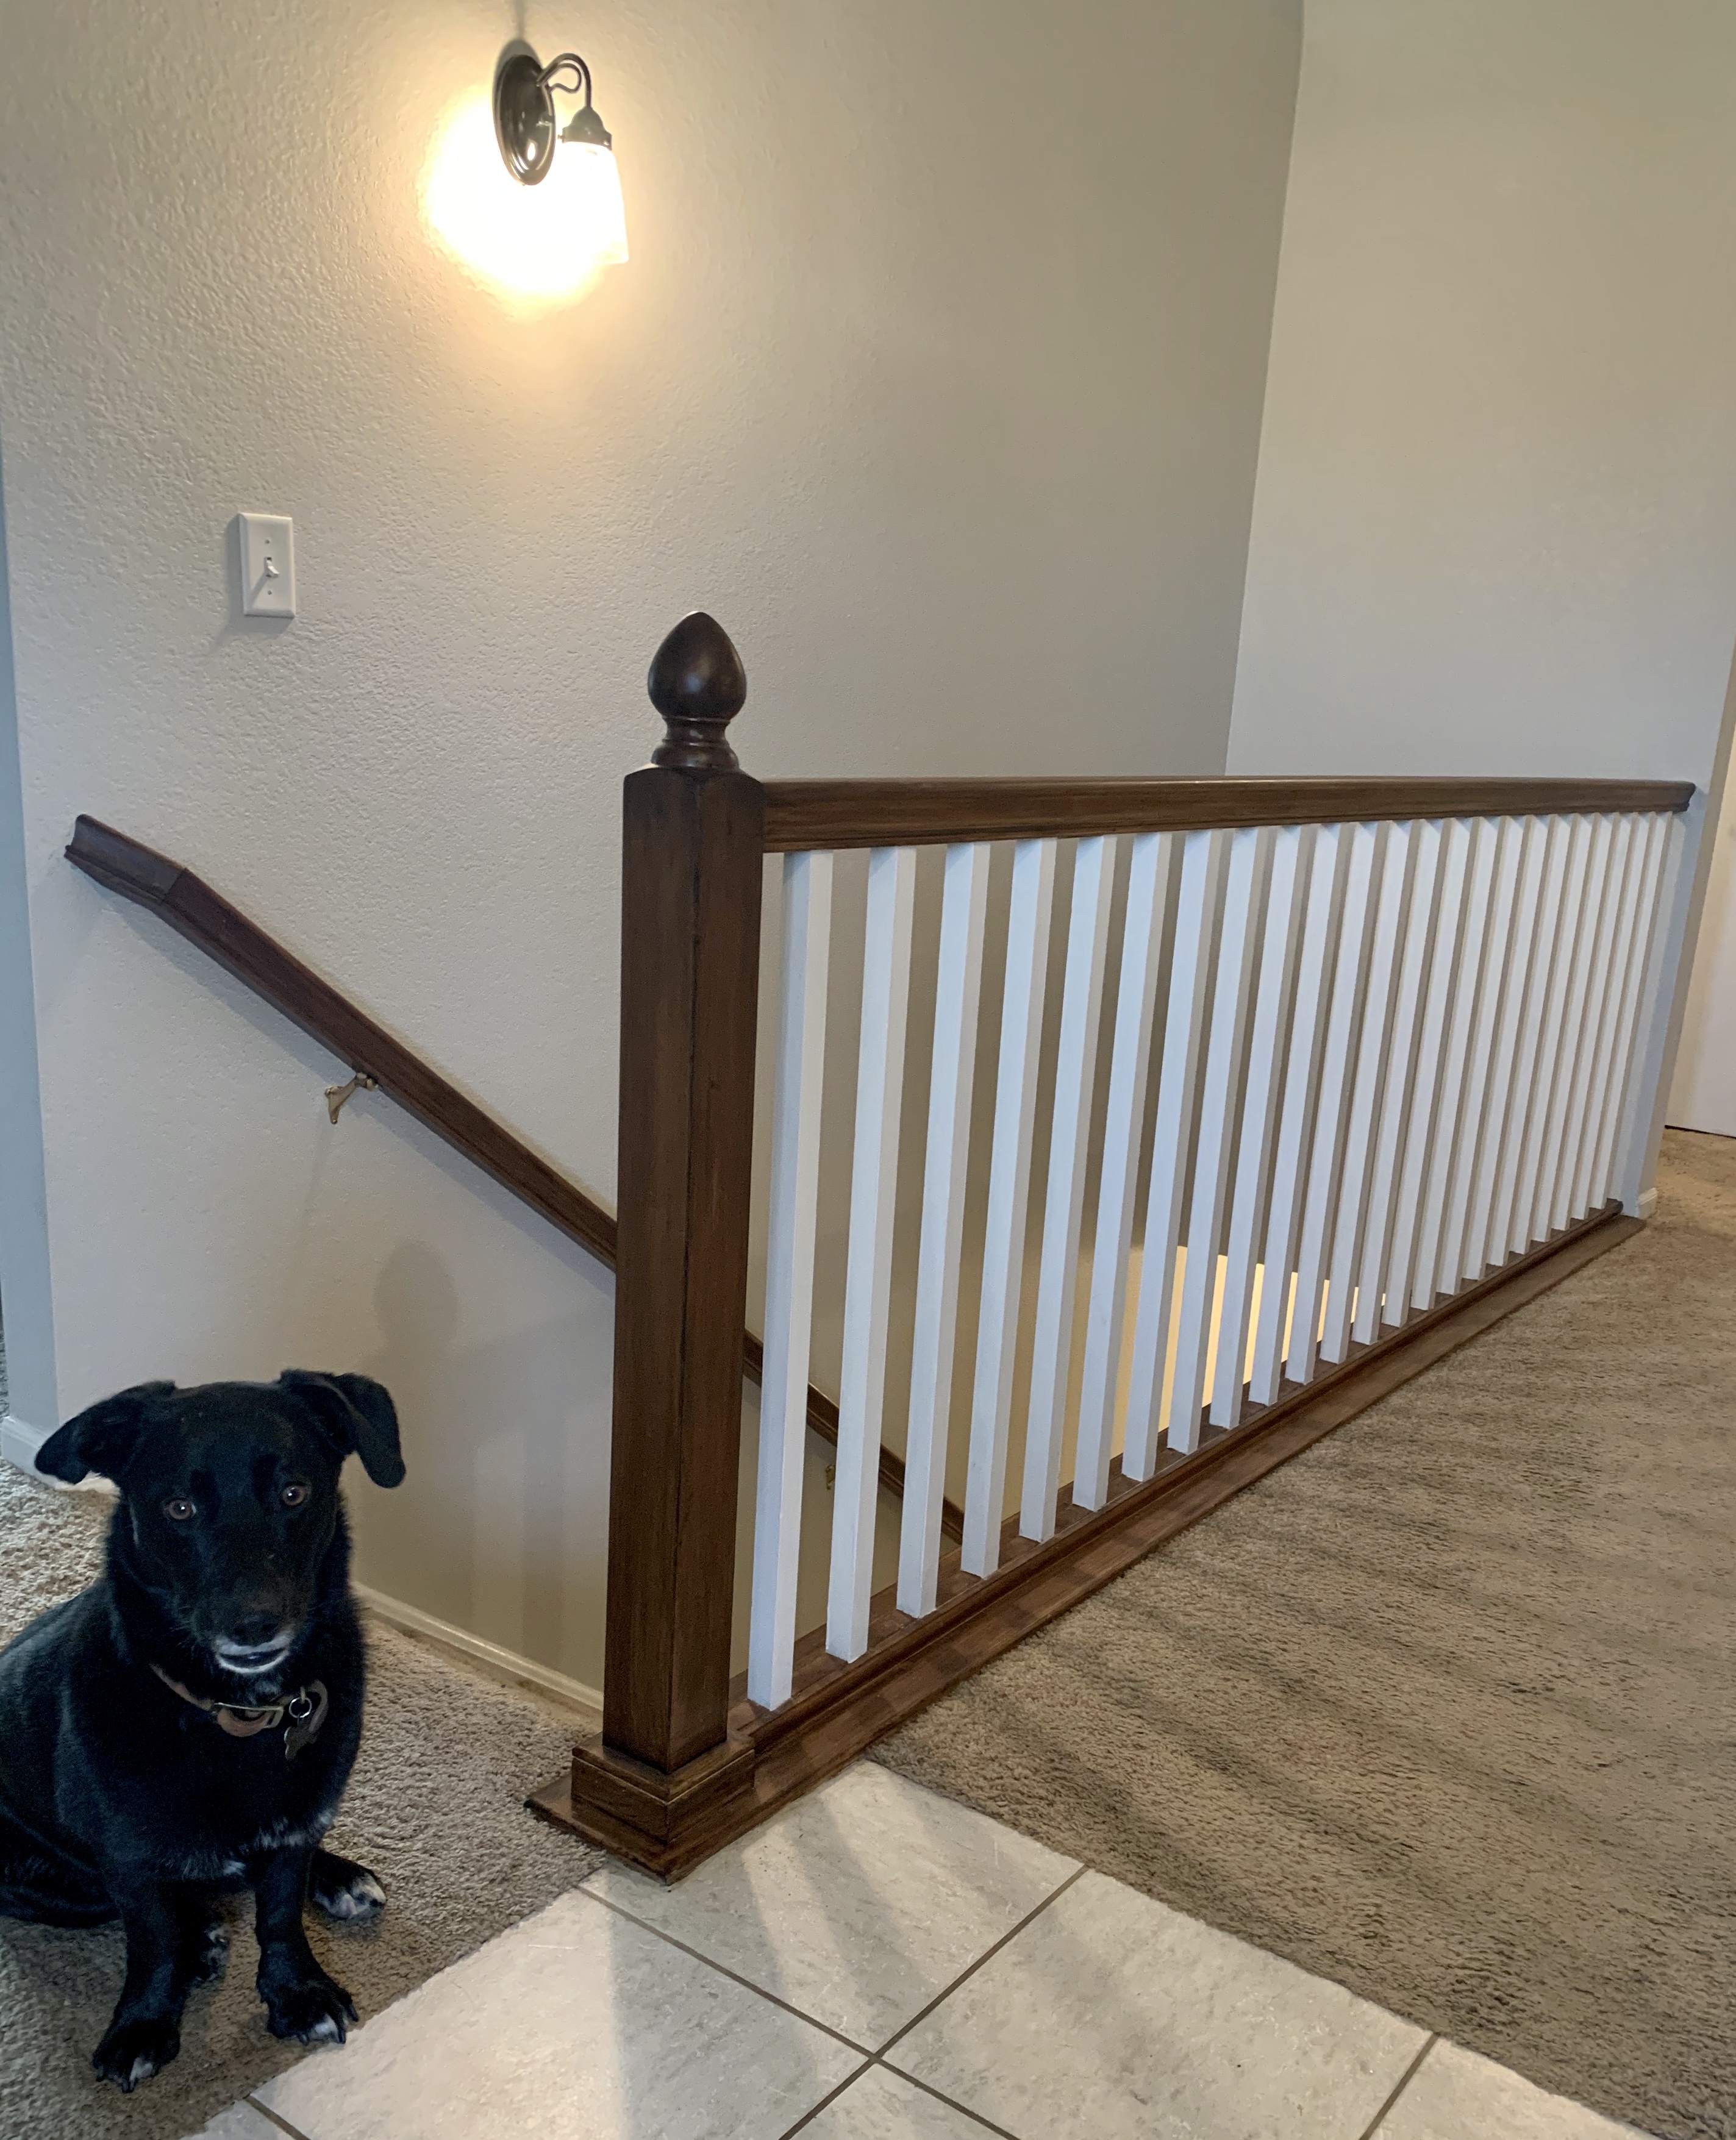
As the project came to a close and we are delighted with how it turned out! We learned alot hope that this will inspire you to update your banister! It’s a lot of tedious work but so worth it in the long run! I hope my tips and tricks will help save your some time and headache! Please don’t hesitate to ask any questions or if you have any of your own tips post them below! Until next time!
TADA!!!!!!

Verified by,
Sarah
